
Get to know the Custom Shape Tool in Photoshop
Get to know the Custom Shape Tool in Photoshop - After learning how to configure voip with asterisk on debian 10 in this occassion we are going to know and master the custom shape tool. In an editing application, of course, there are default templates from the application. Like the custom shape tool template in Photoshop. Actually, the custom shape tool in Photoshop is almost similar to the autoshape in the Microsoft World application. However, there are more templates on Microsoft World compared to Photoshop.
To try it, please follow the simple steps below:
1. Open the Photoshop application
2. Once it opens, please look for the Tool Box named Custom Shape Tool. The tool is in conjunction with the Rectangle Tool.
3. Then right click on the Rectangle Tool and select Custom Shape Tool

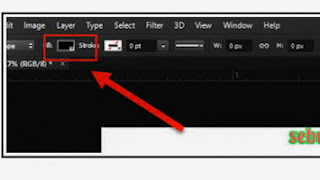
4. Then go to the menu bar area. There, there will be a properties box from the custom shape tool. To bring up the template please left click on the small arrow pointing down. For more details, see the image below.

5. To adjust the coloring of the shape tool, you can set it through the color properties which are located to the left of the shape tool's own properties.

That's the tutorial on Getting to Know the Custom Shape Tool in Photoshop. That is all and thank you
Post a Comment for "Get to know the Custom Shape Tool in Photoshop"